Picture Editing
There are a few editing processes that I use. The main ones
I've listed below with some photographic examples. Also you will need
some type of photo editing software. There are tons of different
programs that are available and many that are available for free. Here
is a list of just a few.
Adobe Photoshop Elements: Elements is a stripped down version of
Adobes powerful Adobe Photoshop CS. While it is a stripped down
version of a more powerful program it will still do about anything that the
casual hobbyist will need to do.
Adobe Photoshop CS: The big brother to Photoshop Elements. I use
CS and I use it for mainly one purpose, it has the ability to record
keystrokes which allows you to build what it calls "actions". This
allows you to automate certain repetitive tasks which translates into time
saved when you are processing huge numbers of photos.
THE GIMP: I don't know anything about this program except I've seen it
recommended by some pretty good marble photographers and it is free.
Click
HERE to get to the free site.
Photoscape 3.0: This is another one that I know nothing about but I've seen
it recommended by some sharp photographers. Click
HERE to get to the free site.
Picasa: This is another free one, it is an editor and a photo
management package that again I haven't used but my wife uses it and likes
it. It is free as well and you can get to the download site by
clicking HERE.
Photobucket: This is one last thing that you will need to post
pictures online. It isn't a photo editing package but a photo hosting
service. Few sites will let you upload pictures directly to their site
but instead will let you upload pictures via a photo hosting service.
There is a free version and a more powerful version that you can pay for.
I use the free version and you can get it
HERE.
Listed below are the main editing functions that I use.
Crop Photos: Cropping a photo is very handy, it allows you to remove
unwanted subject material from you photographs. I use this a lot to
make my photos square shaped instead of the rectangle that they are
when you take them. A square seems to be easier for me to work with in
most situations and a round marble simply fits better on a square background
than on a rectangular background. It is also easier to fit the squares into
the typical compositions that I use. Example below.


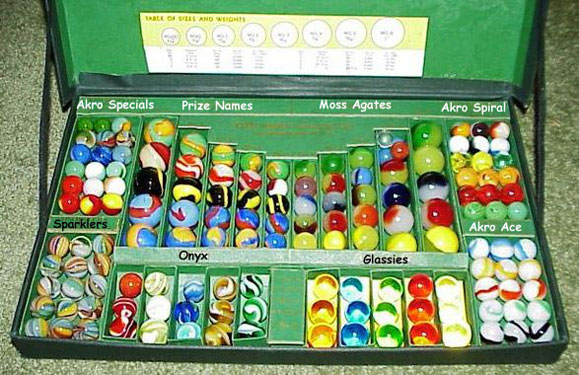
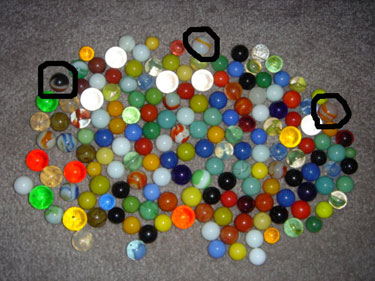
Notations/Indication: Sometimes you want to write directly on a photo, below
is an example of an Akro Sample box that you couldn't see the names of the
marbles on the box due to wear/age etc. so I simply made the notations
directly on the box. Below that is a photo of a group of marbles where I
wanted to point out specific ones and I did this by drawing a black circle
around them. I'm not for sure where I got these photos but if I am
infringing on someone's rights please let me know and I will remove the
photos.
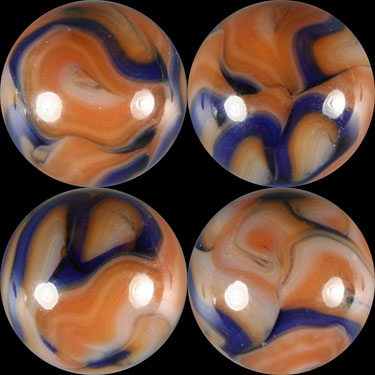
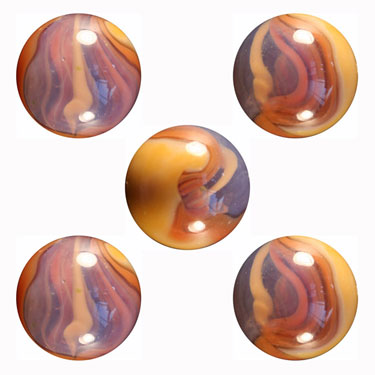
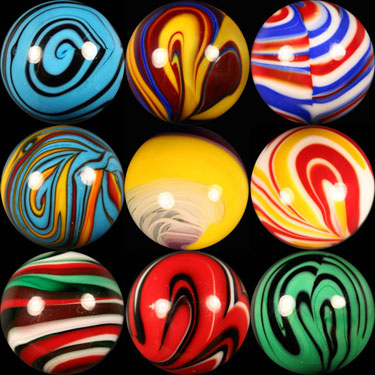
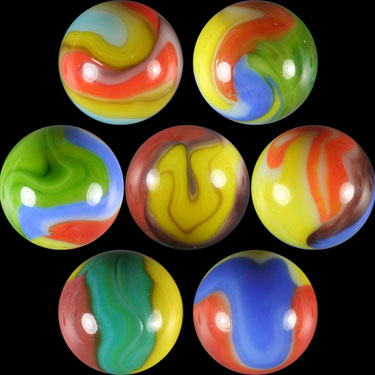
Marble Compositions: Sometimes I want to show an assortment of photographs, it
may be various shots of one marble or it might be a compilation of different
marbles. I have seen some pretty elaborate compositions that are really
incredible, hands holding marbles, marbles floating in space as if they were
planets, really neat stuff. Most of my compositions are of 1, 4, 7 or 9
marbles. My favorite is 7 pictures of either one marble or 7 different marbles,
I arrange 6 pictures around one picture in the center. My least favorite is 5
marbles, I don't know why, it always looks awkward to me, I've included an
example of it in the pictures below.
Color Adjustment: I never use the color adjustment options in the software.
The few times that I've tried the results have been horrible so I quit
messing with it. I have found that if I set my White Balance before I shoot
the marble the colors of the marble are so close that there isn't really any
need to adjust color.
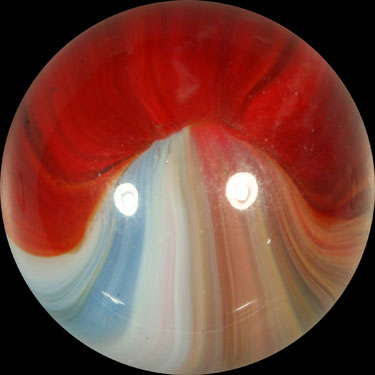
File Size: This is a very important function that your photo editor should
allow you to deal with. When you shoot pictures at a very high resolution
the file size is very large. Many places won't let you post a picture
that's file size is over a certain size limit and e-mailing large files can
be a real pain. Usually photo editors will have a Save For Web function
that you can save the photo as a jpeg at a much reduced size. For example
the 580x580 picture of the Champion Agate above was 213 KB before I saved it
for the web, now the file size is about 42 KB even though the picture size
is still 580x580 pixels. Bear in mind that there is a difference in photo
size and file size. When you use a service like Photobucket it will
automatically reduce the file size when you upload your picture.
Sharpen Image: My software has an option that you can use to sharpen an
image, it works very well if you resist the temptation to overuse it.
Experiment and you'll see what I mean.

Well this pretty much concludes my dog & pony show, I hope you have
found something useful. I may from time to time change it, suggestions
are welcome but if I don't seem to take them please don't be offended, could
be I've incorporated them into my picture taking but just haven't got around
to updating the site
J
Thanks for taking the time to look it over, Joe Street.
©2008 Joe Street
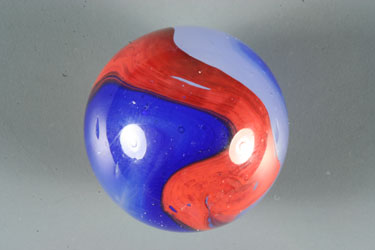
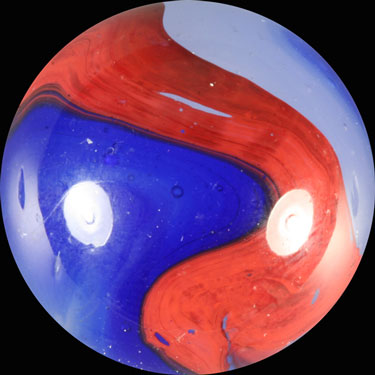
Photo Repair: Occasionally there is need to repair or fix a photo. The
example below is the only time that I've had need to use this but it was
handy. I wanted to use the Akro Agate below as my avatar on a forum but I
wanted to get rid of the hot spots and didn't feel like reshooting the
picture. At this size it is apparent that the photo has been manipulated
but at the size that it was shrunk down to for the avatar its not at all
noticeable. The photo on the left is the before and the photo on the right
is what it looked like after I was done.